The Hogwarts Legacy Helm of Urtkot quest is discovered after gamers bear a sequence of trials in The Collector’s Cave and assist Ludgok retrieve the helmet from enemy Ashwinders.
Nonetheless, to finish the hunt, you’ll have to navigate The Collector’s Cave and remedy a sequence of moth door puzzles.
Fortunately, the hunt has loads of golden cash for gamers to seek out and even a brand new ally to make. Right here you’ll discover the best options to each puzzle and what to anticipate whereas finishing the hunt.
Helm of Urtkot Quest Information Hogwarts Legacy
The Helm of Urtkot is a quest by which gamers help Lodgok in retrieving a sacred goblin relic. The search might be obtained from Sirona within the Three Broomsticks.
To finish the Helm of Urtkot quest in Hogwarts Legacy, comply with these steps:
Communicate to Sirona & Discover Lodgok
- To unlock The Helm of Urtkot quest it’s worthwhile to full The Caretaker’s Lunar Lament quest, attain degree 12, and be taught Depulso earlier than talking to Sirona.
- The Caretaker’s Lunar Lament quest is the place Professor Moon teaches gamers the best way to use Alohomora to open locks round Hogwarts.
- You may be taught Depulso, the Banishing Attraction, from Professor Sharp. This task is simple sufficient because it includes utilizing potions.
- Use 1 Focus Potion.
- Use a Maxima and Erudus Potion concurrently.
- You should buy all these things at J. Pippin’s Potions in Hogsmeade.

- When you’ve happy all of those circumstances, head to the Three Broomsticks and communicate with Sirona.
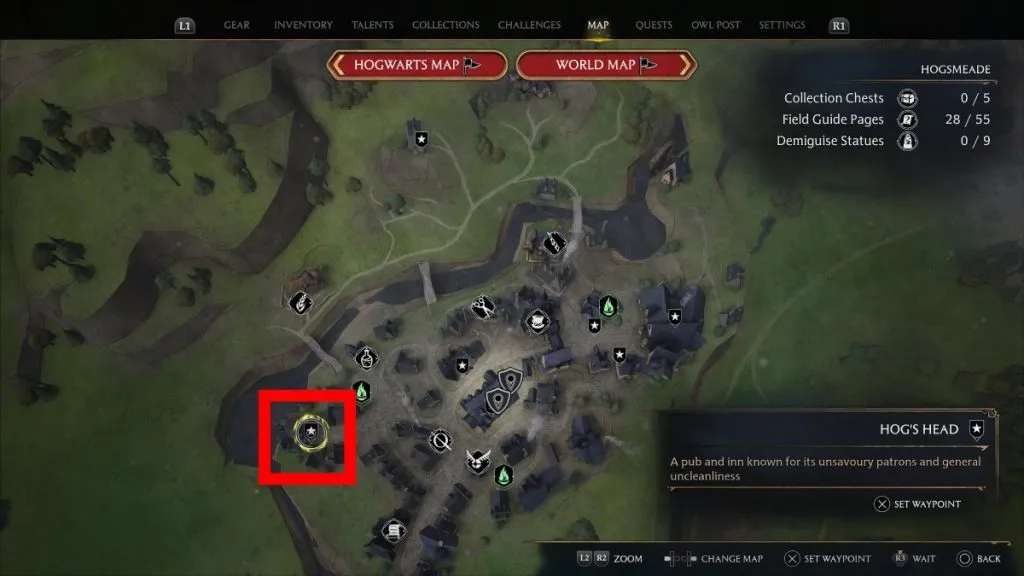
- Sirona will inform you about Lodgok, a goblin buddy of hers. Your character will point out desirous to get in contact with Lodgok, and he or she’ll ship you to Hog’s Head. Fortunately, this isn’t too far.
- Head to the Hog’s Head, west of The Three Broomsticks, and also you’ll discover Lodgok sitting on a desk to the left of the doorway.
- Communicate to Lodgok, and he’ll ask why he ought to belief you.
- Point out that Sirona trusts you, and Lodgok will entrust you with retrieving a sacred goblin relic.
- Lodgok explains that this relic is the Helm of Urtkot which was stolen by a witch and left inside her tomb.
- As soon as the dialog ends, Lodgok will arise and information you towards the witch’s tomb. Observe him. It’s simply west of Hogsmeade, and when you arrive, you’ll unlock The Collector’s Cave Floo Flame.

Discover Helm of Urtkot in The Collector’s Cave Hogwarts Legacy
Right here is the best way to navigate The Collector’s Cave and remedy all of the puzzles to seek out the Helm of Urtkot.
Room #1
- Enter the cave, and the primary impediment in your path is a moth door that solely opens as soon as all three moths have been led to it. Fortunately, this door already has two of the moth in place.
- That is just like the moth puzzle mirrors scattered round Hogwarts.
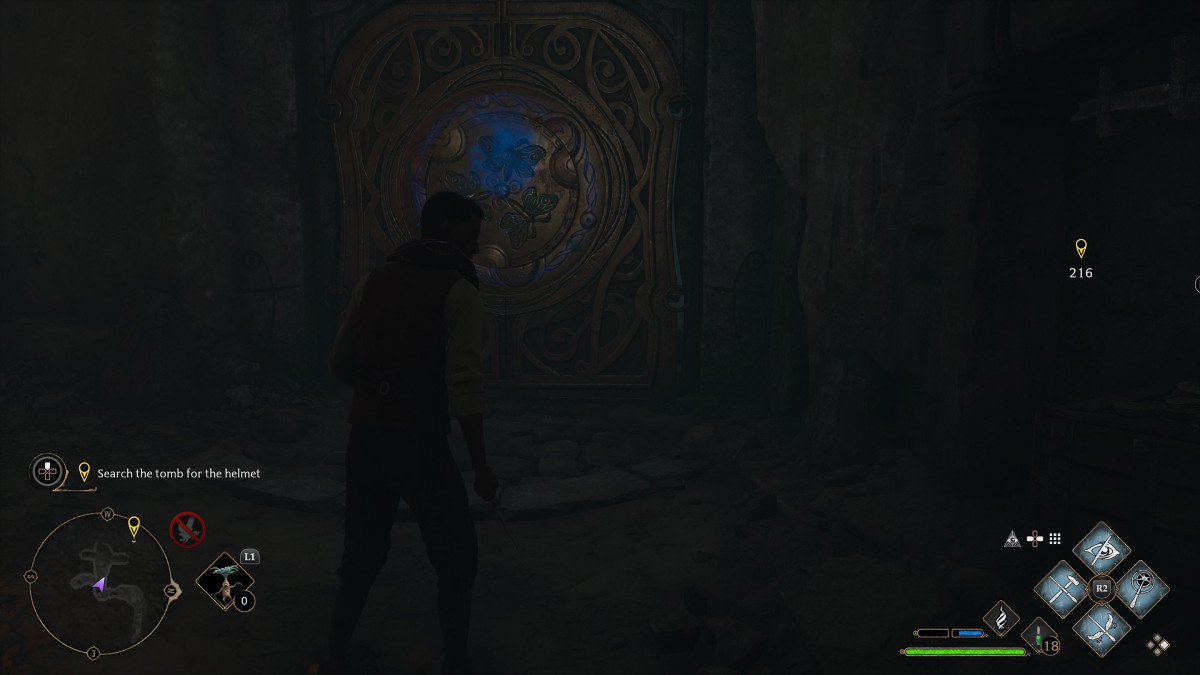
- Flip to your left and head down the passage. You’ll see the moth resting on a needle. Forged Lumos, and the moth will comply with your wand.

- Lead the moth to the door and cease casting Lumos. The moth will mechanically fly into place and unlock the door.
- Proceed to comply with the trail. Use Revelio to seek out any loot to earn some fast cash.
Room #2
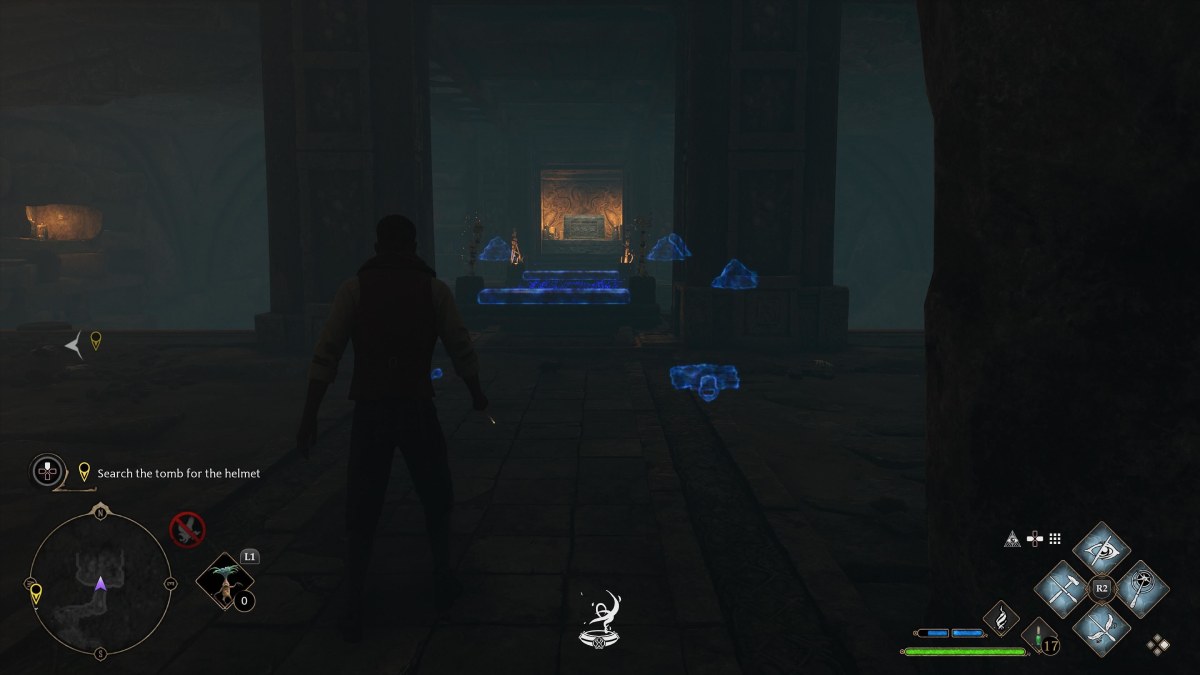
- Ultimately, you’ll come throughout a round room with an empty tomb and one other moth door. This one is lacking all three moths.

- Two of the moths are in the identical room. You’ll see them on a needle pedestal just like the primary one. One is to the left of the tomb, and the opposite is to the fitting of it.
- As you probably did with those earlier than, use Lumos and cause them to the door.
- The third moth is behind the bent steel doorways within the room. Use Depulso to fling the doorways open. Different spells gained’t work, sadly.

- As soon as the doorways are knocked out of the way in which, you’ll see the moth inside alongside some loot. Use Lumos to information it to the door and unlock it.
Room #3
- Proceed to comply with the trail till you attain the subsequent room. This room will comprise enemies generally known as Inferius.
- Inferius are invulnerable to most varieties of injury till they’re lit on fireplace. As soon as on fireplace, you need to use any assault to hurt them.
- Use Confringo, Incendio, and Historical Magic Throw to make use of explosive containers round you to defeat the Inferius.

- When you’ve defeated all enemies, the trail forward will open up, and you may proceed your seek for the Helm of Urtkot.
Room #4
- The trail will lead you to a different moth door puzzle. This time there’s a new mechanism in the course of the room. We’ll consult with this as a moth wheel.

- Strolling as much as the mechanism, you’ll discover it has a moth house. Flip round, and also you’ll see a moth to the left and proper of the doorway you got here from.
- To the east of the moth wheel is a platform.
- Place one of many moths on the moth door. Use the opposite moth and place it on the moth wheel. When you do that, you’ll discover the moth wheel’s wings will rise.
- Forged Depulso on the moth wheel. It’ll begin to flip, and the platform to the east will rise. Preserve casting Depulso till the platform locks.

- Stroll as much as the platform and leap as much as climb on it. The third moth is ready on a pedestal. Forged Lumos and lead it to the door.
- Return to the moth wheel, forged Lumos to take away it, and lead it to the door to unlock it.
- Proceed down the trail now that the door is open. You’ll see a path to the left and proper in your map.
- The right path is on the left.
- The correct path results in one other puzzle and a treasure.
Secret Room
- To acquire extra treasure, head proper and leap up in the direction of the ledge. Observe this path, and also you’ll come throughout a room with a lacking bridge and a chest on the opposite aspect.
- Use Revelio, and also you’ll see just a few gadgets highlighted in blue. These are bone piles you need to use.
- To resolve the puzzle, it’s worthwhile to use Depulso and Wingardium Leviosa.
- Hit the bone piles with Depulso. This can scatter them about. Use Wingardium Leviosa on these and cause them to the doorway of the lacking bridge close to the 2 bone totems.
- The bones ought to begin to spin round. Cease casting your spell, and also you’ll see the bones align themselves the place the bridge needs to be.

- On the bottom degree of this room, you’ll see two handles. Use Accio to drag them and reveal much more bones. Use Wingardium Leviosa to steer them close to the opposite bone items.

- Now that you’ve a bone bridge, you possibly can cross to the opposite aspect and open the chest.
Room #5
- After you’ve obtained the chest, head again to the place you got here from.
- When you drop down, maintain heading straight into the trail forward.
- The trail will lead you to a room with a dangling crate. Utilizing Depulso to deliver the crate down and break the grating on the ground.

- Earlier than you leap down, there’s one other steel door to your proper which you can forged Depulso to open. You may transfer a crate with Accio to seize some hidden chests right here.
Room #6
- Now, leap down into the outlet within the ground. Make your approach by the trail to the fourth and last moth door room. Earlier than you possibly can remedy the puzzle, you’ll have to defeat the Inferius within the room.

Room #7
- When you’ve handled all of the enemies, you’ll want to seek out all three moths to open the door. On this room, there are just a few factors of curiosity you’ll have to have in mind.

- First, you’ll need to use one of many two moths on the bottom ground to energy the moth wheel.
- Forged Lumos to maneuver the moth. Cease casting Lumos to let the moth fall into place.
- Now you’ll need to take the second moth straight to the door, however you possibly can’t attain it whereas casting Lumos. Fortunately, there’s one other technique to get the moth up there.
- Take the second moth and head to the southern part of the room. You’ll see a moth pedestal right here. Depart that moth right here.
- Head to the lowered platform in entrance of the moth wheel and use Depulso to rise. Be certain that to raise the platform to its highest level.
- When you’ve accomplished lifting the platform, shortly make your approach towards the path of the moth pedestal you left the second moth in. This platform rises alongside yours, so it’s potential to make use of Lumos to seize the moth from the place you’re. Forged Lumos and lead the moth to the door.
- The second moth is inside an indent within the wall to the fitting of the moth door. Forged Lumos and lead it to the door.

- The third and last moth is on the opposite aspect of your platform. You may leap throughout or use the moth wheel to seize it simply. Forged Lumos and lead it to the door to lastly open it.
Closing Room
- Observe the trail, and also you’ll lastly be face-to-face with the witch’s last resting place.

- Unfortantely, you’ll come to discover a lifeless Ashwinder right here as a substitute of the helm.
- Fortunately, you don’t have to comply with the trail again to go exterior the tomb. Simply work together with the flame behind the tomb, and it’ll transport you again to Lodgok.
Discover Bandit Camp & Retrieve Helm of Urtkot
- Inform Lodgok what you’ve discovered, and he’ll point out a close-by bandit camp.

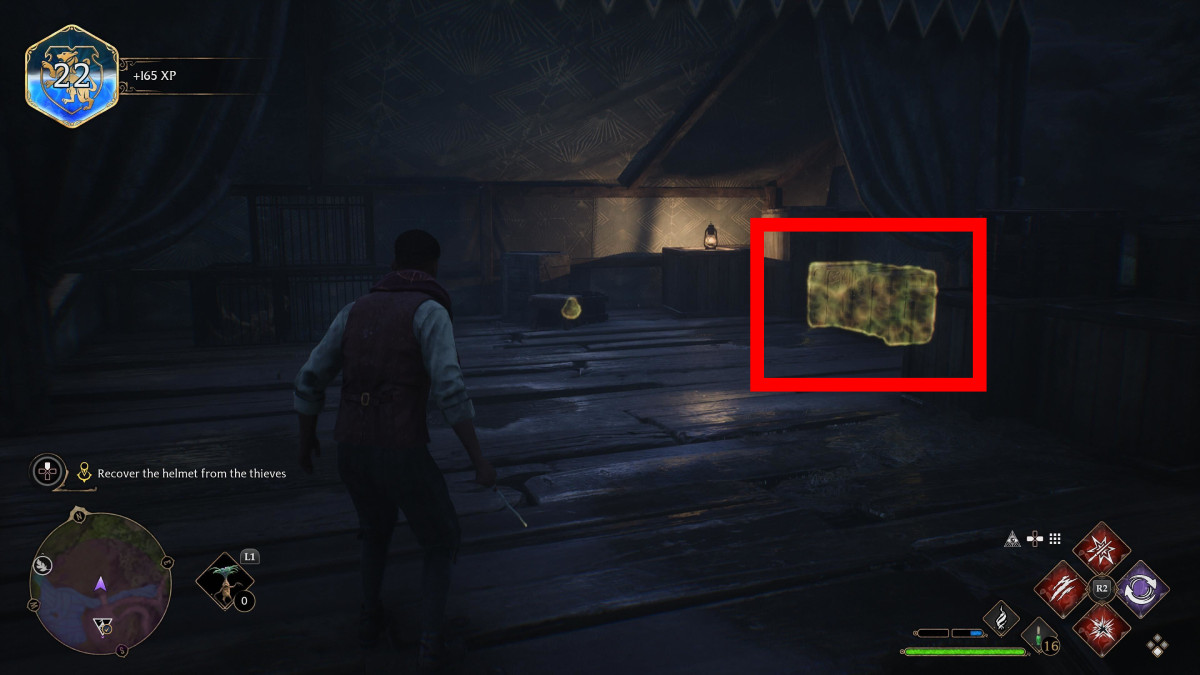
- Head to the bandit camp and defeat all the enemies there. Use Revelio to spotlight the big chest contained in the tent.
- Work together with the chest contained in the tent, and also you’ll obtain the Helm of Urtkot.
- Head again to Lodgok to finish the Helm of Urtkot quest in Hogwarts Legacy.
That is simply one of many many quests that Hogwarts Legacy has to supply! For those who’re in your technique to finishing all of them, then it’s greatest to study rolls and the best way to maximize your loot!


