After arriving on the mystical land overtaken by the evil Queen, Ravenlok will ensure you know the fundamental guidelines of fight, and on the identical time will process you with reopening Hedgehog Etta’s store for her and her brother Clyde.
Whereas it is a very early recreation quest, there are a number of stunning twists and turns concerned in ending it off, with many objects to return and a few bosses to place of their place. Prepare for lots of back-and-forths, and be able to metal your self for some robust battles. This is the best way to defeat the foes that lie forward and get that all-important store open on this charming indie title.
Beginning The Quest

You begin Open The Store by talking with Hedgehog Etta, who will provide you with Mustard Seed Tea and let you know to deliver it to Enid the Witch for a Blessing. The trail to Enid the Witch’s home deep within the Mushroom Forest is at present blocked by Hedgehog Clyde, who desires you to seize him a Piece Of Fungus.

You earn this Fungus by ending your fight coaching on the finish of the Arm Your self quest. Give the Piece of Fungus to Clyde and now you can go to the Mushroom Forest.
The Queen’s Ambush

Stroll into the Mushroom Forest and discover the glowing crimson orb. Work together with it and the evil Queen herself will seem in entrance of you. She’ll flip the mushrooms hostile, so put together to defeat all of them, after which one other wave of them simply after. As soon as you have defeated the mushrooms, a door will open, and the next path will quickly lead you to Enid the Witch.
The Weeping Fungi

Enid will let you know that there are two extra substances to gather earlier than she will be able to make the Blessing. The primary is the top of the Weeping Fungi, a monster that is been terrorizing the depths of the Mushroom Forest.

Earlier than you go, take a fast notice that you’ll be able to degree up right here with the expertise you acquire from killing enemies. You’ll deal extra harm the extra you degree up, in addition to take extra hits, so degree as excessive as you’ll be able to every time you go by.

Take the trail to the precise and stroll to the far finish. You may need to cope with extra Mushroom enemies. The enemy you are on the lookout for is that this massive inexperienced creature.

Inexperienced is the key phrase, as it is the Fungi’s favourite coloration, and he’ll solely have interaction you in fight should you say “no” when he asks should you suppose it is the most effective coloration too.

The Fungi has solely a handful of strikes, and they’re principally designed for ranged fight. He can spray the bottom or the air, dropping inexperienced projectiles onto you. Your Defend can negate harm from these, however you can even simply dodge them.
An up-front assault is really helpful, as you’ll be able to swing rapidly to empty the Fungi’s well being. Simply fear about shielding and dashing throughout an assault, and swing at any opening. Whereas the Fungi might be difficult at occasions, it is a easy struggle so long as you keep alert.
Buvador The Bison

Return to Enid to search out out you additionally want a bit of Buvador the Bison. She does not let you know which half, however she does let you know he is in Deer Lake. Killing the Fungi opened a path that may lead you to the lake.

As soon as there, head over to the opening within the timber to search out the chief of the Stags.

The Stag Chief, Idris the Mighty, desires to belief you, however thinks it is best to show that you just’re worthy first. There are 4 different Stags in Deer Lake, and should you assist all 4 of them, you’ll be able to go and see Buvador. The requests fluctuate a bit, however aren’t very completely different to these the participant could have encountered earlier than.

Two of the Stags simply need you to kill 10 of each enemy sorts for the realm, the Mosquitos and Whisperers. In case you had been already killing these enemies earlier than you activated these quests, the depend will carry over.
Ten can also be simply excessive sufficient of a quantity that you’re going to want to go away and reset the realm, so strive killing each enemy then chatting with the Stag Chief, or simply leaving.
The opposite two Stags need one thing a bit extra particular. You must destroy 4 larvae and 5 allergen spores. All 9 of those shall be pictured under so that you can attempt to observe, however bear in mind you’ll be able to’t destroy the spores till you begin the hunt, because the Stag will provide you with the hunt merchandise you want to take action.
The larvae areas

The primary of the larvae is present in a naked patch within the grassy forest, surrounded by a number of enemies.

The second larvae is present in one other patch, by a big, curved tree.

The third is discovered on this patch, close to the sting of the forest.

The ultimate larvae can also be discovered close to the forest’s edge, this time beneath two massive, glowing flowers.
Allergen spore areas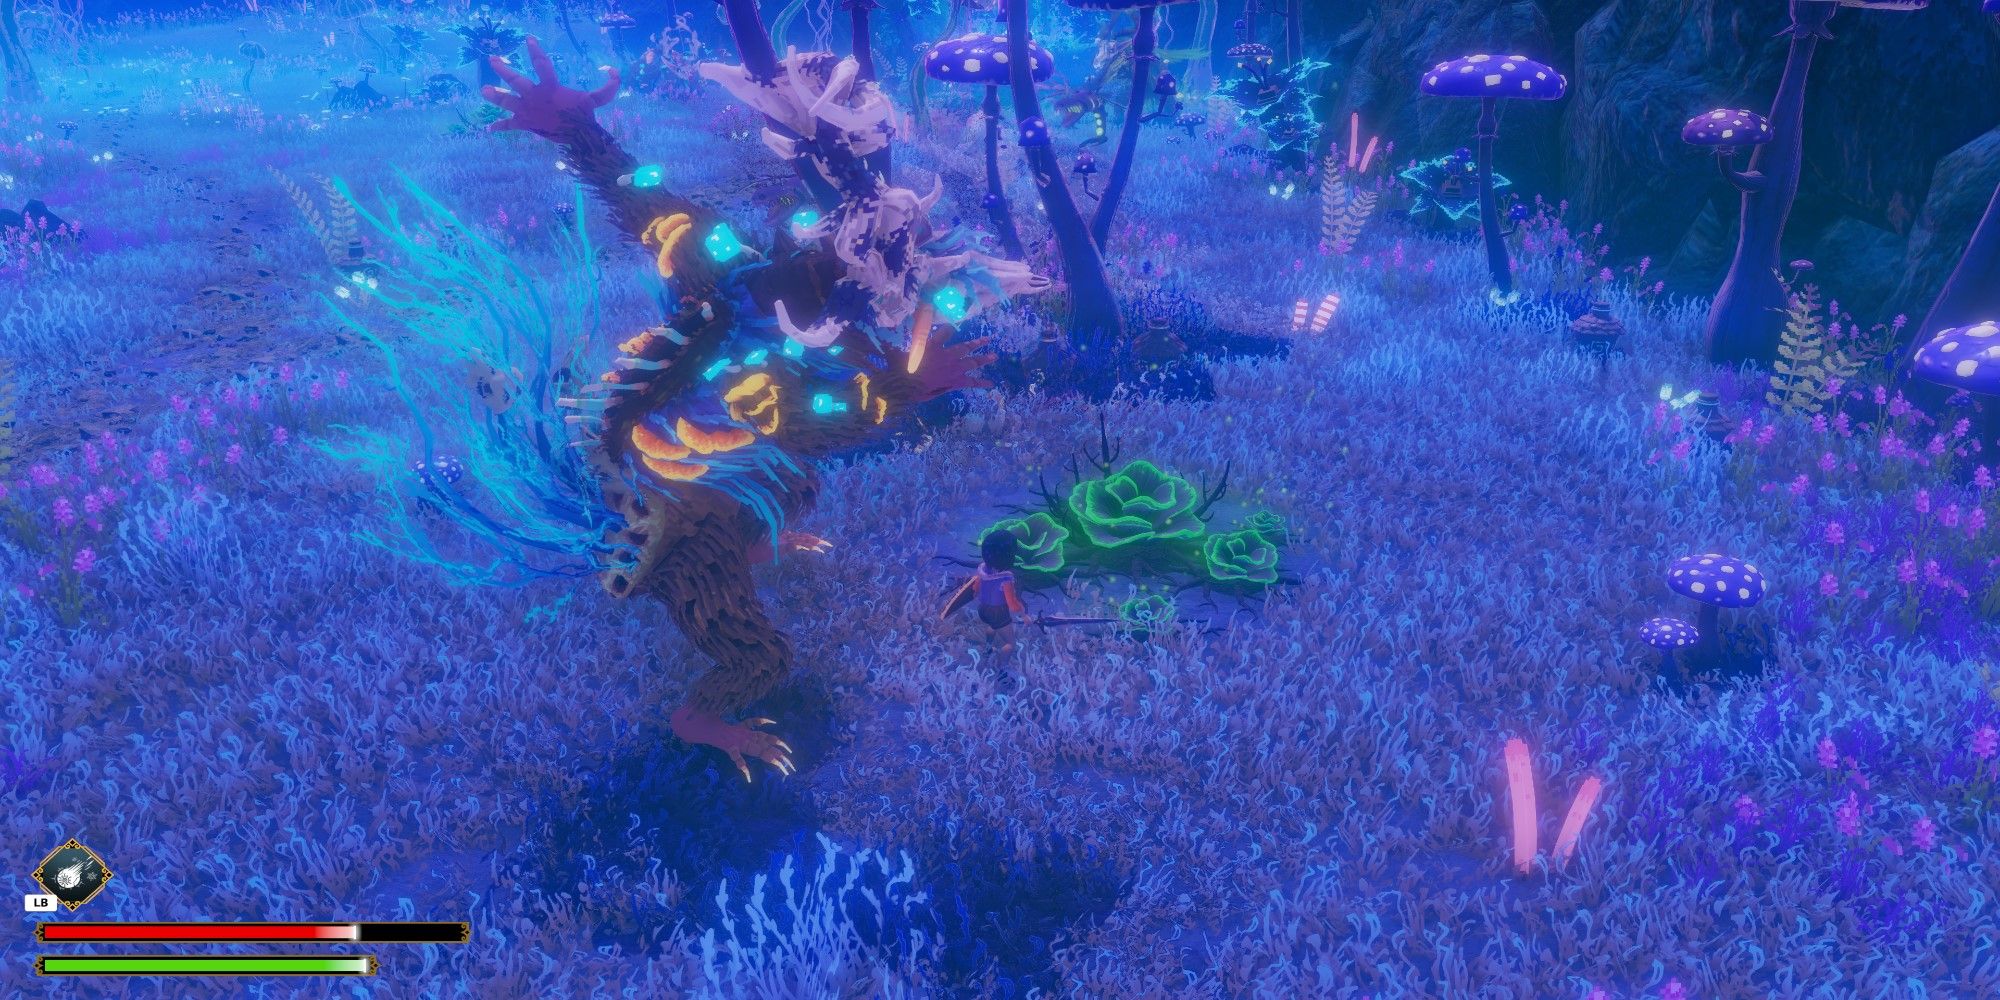
The primary allergen spore is discovered on this forest clearing (watch out for the hostile locals).

For the second, enter this forest clearing, within the shade of the massive tree.

The third allergen spore is in a central space protected by extra imposing enemies.

The following spore is discovered within the shade of a big mushroom on this clearing.

The ultimate spore is situated close to the third, within the clearing pictured right here.
The battle with Buvador

With the proof you have helped all 4 Stags, discuss to Idris the Mighty once more. He’ll drop you into the pit Buvador is imprisoned in, and after making an attempt to let you know his facet of the story, Buvador will misunderstand you and begin the struggle. It is not probably the most troublesome boss struggle round, however gamers might want to keep alert regardless.
Buvador principally expenses at you, and a block will forestall harm but additionally drain your whole stamina. He might also drop inexperienced stalactites to lure you in place, however once more you’ll be able to simply block. Anticipate after a cost, then sprint away and begin attacking from behind. Use your particular assault and bombs if in case you have any.
Talking of particular assaults, defeating Buvador will unlock one: now you can cost at enemies similar to he did to you.
Making The Blessing

Enid asks you to do her work for her, so go inside the home after which use the ladder on the left. Discover the cauldron and blend the substances. Your character will notice you want a supply of fireside. This implies you may have to befriend Camy the Cauldron by doing his quest of discovering 4 items of Cinder.
Cinder items areas

The primary of the cinder items is discovered within the pit close to the witch’s home.

The second cinder pit is situated close to the forest’s edge, by the stack of barrels.

For the subsequent piece, go to the out-of-the-way stone formation pictured right here.

The ultimate piece can also be a bit hidden, behind these timber. With that, take the items again to Camy the Cauldron. Ask him for assist afterward, and he’ll provide you with a Torch. Take the Torch again downstairs and make the Blessing.
Finishing The Quest

Earlier than you head again, converse to Enid, who will provide you with the Key to her Attic. Inside is a mirror you need to use to fast-travel again to the Mansion, so long as you already unlocked that mirror as properly.

Return the Blessing to Etta, and also you end the hunt in addition to unlock her store. Your journey on this reasonably underrated indie gem can now start correct.


